
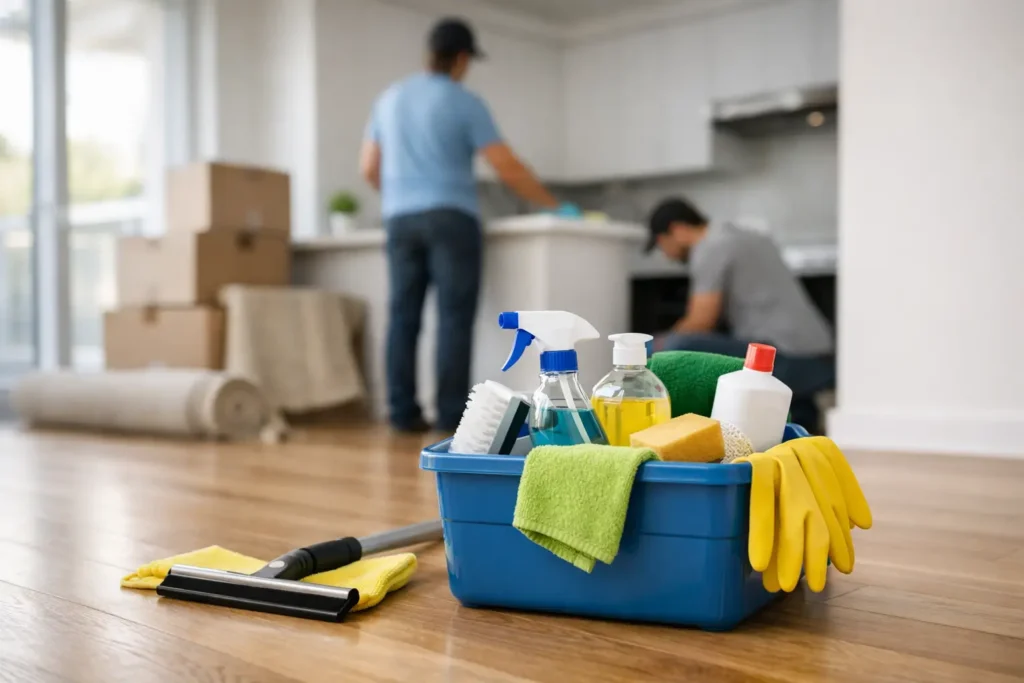
Moving day has a way of making every small cleaning job feel bigger. The fridge is empty but still needs scrubbing, furniture has left marks behind, and the lease requires the home to be returned in good condition. These best move out cleaning tips help you focus on the work that affects your final walkthrough, security deposit, and the next person moving in.
The goal is not to make an older home look brand new. Normal wear, such as faded paint or a worn carpet path, may not be your responsibility. Your job is to remove your belongings, clean the areas you used, and leave the property sanitary and ready for inspection. Start with your lease, then work from the highest surfaces down to the floors.
Best Move Out Cleaning Tips Start With a Plan
Do not wait until the truck is loaded to begin cleaning. Empty rooms reveal dust, spills, wall marks, and overlooked corners that were hidden by furniture. Set aside enough time after packing and before your key return to clean without rushing. For a small apartment, that may be several focused hours. A larger home, pets, children, heavy kitchen use, or a tight move-out deadline can turn it into a full-day project.
Read your lease and any move-out instructions from the landlord or property manager. Some properties have specific expectations for carpet cleaning, appliance interiors, blinds, garage spaces, or trash removal. If the lease requires a professional service for a particular task, keep the receipt. If it does not, a thorough do-it-yourself clean may be enough.
Before you begin, take dated photos and video of each empty room. Document pre-existing damage, stains that will not lift, and the overall condition after cleaning. This is a practical step, not an accusation. Clear records can help if there are questions about the final condition later.
Gather supplies before you start: microfiber cloths, a vacuum with attachments, a mop, a broom, a scrub brush, a non-abrasive sponge, an all-purpose cleaner, glass cleaner, degreaser, bathroom cleaner, and trash bags. Use the right cleaner for the surface. A harsh abrasive can damage glass cooktops, natural stone, or finished cabinets, creating a more expensive problem than the original grime.
Clean in the Right Order
A simple order saves time: remove trash and belongings first, dust high surfaces, clean fixtures and counters, wash lower surfaces, then finish with floors. If you mop before wiping the counters or vacuum before cleaning the baseboards, you will likely need to do the same work twice.
Work one room at a time when possible. It is easier to confirm a room is complete when you can close the door, take photos, and move on. In a larger home, it can make sense to group similar tasks together, such as cleaning all mirrors or wiping all baseboards. Choose the approach that keeps you organized instead of bouncing between half-finished rooms.
Give the Kitchen Extra Attention
Kitchens are one of the first places managers inspect because grease and food residue build up where people do not always look. Start by removing every item from cabinets, drawers, the refrigerator, and the pantry. Vacuum crumbs from drawers and wipe both the interior and exterior of doors, handles, and shelving.
Clean the stovetop, burner grates, control knobs, backsplash, hood, and the area behind or beside the range if it is accessible. Let degreaser sit for the time listed on its label before wiping it away. Scrubbing too soon often means more effort and poorer results.
The oven deserves an honest assessment. If it has baked-on spills, use an appropriate oven cleaner or the appliance’s self-clean function only if the manufacturer allows it. Self-cleaning cycles produce high heat and odor, so do not run one at the last minute or leave the home unattended. Wipe the oven door, racks, drawer, and surrounding floor once the appliance is cool.
Empty and wipe the refrigerator, including shelves, drawers, seals, handles, and the space beneath it if you can safely move it. A fresh-smelling refrigerator matters, but avoid masking odors with strong fragrance. Remove all trash, then clean the sink, faucet, drain area, dishwasher filter if accessible, counters, and floors.
Make Bathrooms Look and Feel Sanitary
Bathroom cleaning is about detail. Soap film on glass, mineral buildup around faucets, residue under the toilet rim, and hair in drawers can make an otherwise clean bathroom feel unfinished. Apply cleaner to the shower, tub, toilet, and sink first, allowing it time to work while you wipe mirrors, cabinets, switches, and shelves.
Scrub the shower walls, tub, fixtures, grout lines, and shower door or curtain area. For hard-water buildup, use a product designed for mineral deposits and test it in a small area first. Never mix cleaning products, especially bleach and ammonia-based cleaners. Open a window or run the exhaust fan when using products with strong fumes.
Finish by cleaning the toilet from top to bottom, including the flush handle, seat hinges, outer base, and floor around it. Empty medicine cabinets and vanity drawers, wipe them dry, and check behind the door. Hair and dust collect there quickly.
Reset Bedrooms and Common Areas
Once furniture is gone, bedrooms and living spaces can look simple, but they still need a close pass. Dust ceiling fan blades, vents, light fixtures, window sills, blinds, shelves, and baseboards. Wipe doors, handles, light switches, outlet covers, and closet shelving. These touch points are easy to miss and very noticeable during a walkthrough.
Remove scuffs carefully. A damp microfiber cloth may handle light marks, while a gentle melamine sponge can help with tougher scuffs on some painted walls. Test a hidden area first, since aggressive rubbing can remove paint or leave a dull patch. Do not try to paint over damage unless your lease allows it and you can match the existing finish.
Clean interior windows if they are part of your responsibility, then wipe tracks and sills. Vacuum closets, including corners and upper shelves. If you used command strips, hooks, or wall mounts, remove them slowly and address adhesive residue without damaging the wall.
Do Not Forget Floors, Outdoor Areas, and Trash
Floors should be your final indoor task. Vacuum carpet edges, under radiators or vents, inside closets, and along baseboards. Treat visible spots according to the carpet type and your lease requirements. Some stains need professional treatment, especially pet accidents, red wine, or ground-in dirt. Renting a machine may be cost-effective for a large carpeted space, but using too much water can leave odors or slow drying, so it depends on the condition and the time available.
Sweep and mop hard floors with a cleaner suitable for the material. Use only a lightly damp mop on wood or laminate unless the manufacturer says otherwise. Check balconies, patios, garages, storage units, and entryways as well. Remove personal items, sweep debris, and dispose of trash according to property rules. Leaving bags beside a dumpster can still lead to a charge.
Do a Final Move-Out Walkthrough
After the floors dry, walk through the home with the lights on and your phone camera in hand. Open every cabinet, drawer, closet, appliance, and storage area. Look at the home from the doorway of each room, then check the details at eye level: streaky mirrors, crumbs in drawers, fingerprints on doors, hair in the bathroom, and dust along baseboards.
Use this final check to make sure utilities, keys, remotes, parking passes, and mailbox keys are handled according to your move-out instructions. Take a final set of photos after the cleaning is complete. Then return the property as directed and keep copies of your communication and receipts.
If your schedule is packed or the property needs more than a basic wipe-down, bringing in a move-out cleaning team can be the practical choice. A service with a clear task list can handle the detail work while you focus on the move itself. Whether you clean yourself or hire help, give the home one calm, well-lit final inspection before you hand over the keys. That last ten minutes can prevent the most frustrating surprises.