
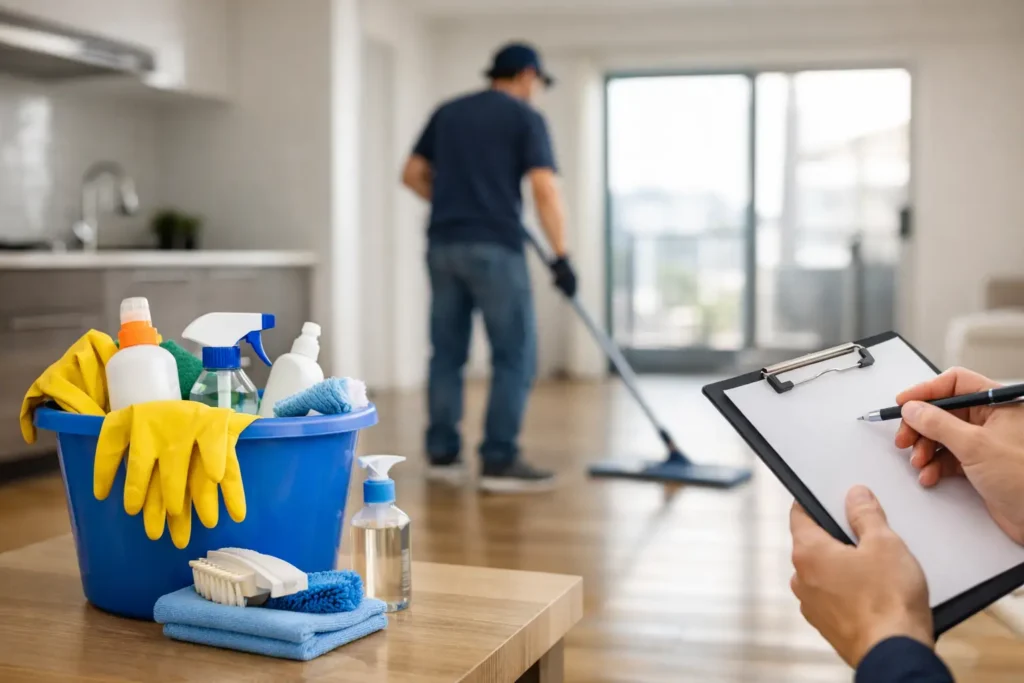
The keys are ready to hand over, the truck is packed, and then you notice the greasy cabinet handle or the dust line behind the toilet. Move out cleaning before inspection is where small details can make a big difference. A clean, empty home gives a landlord or property manager fewer reasons to document cleaning issues, delay turnover, or deduct from a security deposit.
The goal is not to make a lived-in home look untouched. Normal wear is different from dirt, buildup, stains, and neglected areas. Your job is to return the property in the condition required by your lease, allowing for reasonable wear, and to make every room easy to inspect.
What Inspectors Usually Notice First
Most inspections move quickly. The person walking through the home is looking for obvious damage, odors, leftover belongings, and signs that basic cleaning was skipped. Floors, bathrooms, kitchen surfaces, appliances, windows, and high-touch areas tend to stand out first because they are easy to see and difficult to ignore.
Empty rooms can also make missed spots more visible. A smudge on a wall, dust on a ceiling fan, crumbs in a drawer, or debris along baseboards may have blended into daily life. Once furniture is gone, those details are right in the open.
Before you start, read your lease and any move-out instructions from the property manager. Some require carpet cleaning, appliance cleaning, key return procedures, or a specific checklist. If the requirements are unclear, ask in writing. It is better to know what will be checked than to guess after the inspection is complete.
Move Out Cleaning Before Inspection: Start After the Home Is Empty
Cleaning around boxes and furniture creates extra work. Whenever possible, schedule the main clean after everything is removed. You will have access to corners, closet floors, walls behind furniture, and the areas under appliances.
Work from the top of each room down to the floor. Remove cobwebs and dust first, clean surfaces next, then vacuum or mop last. This prevents you from cleaning the same floor twice after debris falls from a shelf or fan.
Take photos and a short video before cleaning, especially if you notice pre-existing damage. Then take another set after the work is done. Clear, dated photos can be useful if there is a question about the property’s condition later.
Kitchen: Focus on Grease, Crumbs, and Appliances
The kitchen is often the highest-effort room in a move-out clean. Food residue and grease build up gradually, so tenants may not notice it until cabinets and appliances are empty.
Start with the refrigerator. Remove every item, take out shelves and drawers if practical, wash them, and dry them completely. Wipe interior walls, door seals, handles, and the area underneath the drawers. Do not forget the top of the refrigerator and the floor beneath it.
Clean the oven, stovetop, burner grates, control knobs, range hood, and backsplash. The oven is a common inspection point, but heavy buildup may require more time than expected. Use a product appropriate for the appliance surface, ventilate the area, and avoid abrasive tools that can scratch glass cooktops or stainless steel.
Finish cabinets and drawers inside and out. Check corners for crumbs, wipe handles, clean the sink and faucet, and remove food debris from the garbage disposal if the unit has one. Run the dishwasher empty and wipe its door, edges, filter area, and controls.
Bathrooms: Remove Buildup, Not Just Surface Dust
A bathroom can look clean at a glance while still showing soap scum, hard-water marks, hair, or mildew around fixtures. Inspect it in bright light.
Clean the toilet thoroughly, including the base, hinges, exterior, and floor behind it. Scrub the tub or shower walls, doors, tracks, fixtures, and drain cover. Wipe the vanity, sink, mirror, medicine cabinet, light switches, and towel bars.
If there is mildew or discoloration in grout or caulk, treat it carefully with the right cleaner and follow safety directions. Some staining will not lift because it is permanent wear, but leaving soap film or fresh buildup behind is avoidable. Never mix cleaning chemicals, particularly products containing bleach and ammonia.
Bedrooms and Living Areas: Look at the Edges
In bedrooms and common areas, inspections often come down to the overlooked edges of the room. Dust baseboards, window sills, blinds, door frames, closet shelves, and ceiling fans. Wipe switches, outlet covers, doorknobs, and vents.
Vacuum carpet slowly, including closet floors and edges near walls. If the lease requires professional carpet cleaning, arrange it early enough for the carpet to dry before the walkthrough. For hard floors, sweep first and then use the appropriate mop and cleaner. Too much water on laminate or wood flooring can cause damage, so follow the flooring manufacturer’s guidance where possible.
Check walls for removable marks. A gentle sponge or mild cleaner may handle scuffs, but aggressive scrubbing can remove paint and create a larger issue. If a nail hole, chip, or wall mark is beyond normal wear, discuss it with the landlord rather than making a rushed repair that looks worse.
Do Not Skip Closets, Laundry Areas, and Outdoor Spaces
Closets should be fully empty, vacuumed or swept, and wiped down. Remove hangers, shelf liners, adhesive hooks, and anything left on the upper shelves. Open every cabinet, drawer, and storage space one final time. Leftover property can lead to disposal fees or delay the turnover.
In the laundry area, wipe the washer and dryer exterior, clean lint from the dryer trap, and sweep behind the machines if you can safely access the area. Check for detergent spills and dust around water connections.
If your lease includes a patio, balcony, garage, or entryway, remove trash and personal items. Sweep loose dirt and check for pet waste, cigarette debris, or spilled potting soil. These areas are easy to overlook when you are focused on the inside of the home.
A Final Walkthrough Checklist Before Inspection
Do your final walkthrough after the cleaning supplies are put away. Walk through slowly with the lights on, using your phone flashlight for corners, appliance edges, and behind doors. You are looking for anything that creates the impression that the home was left unfinished.
Make sure you have handled these final details:
- All trash, food, personal items, and cleaning supplies are removed.
- Cabinets, drawers, closets, and the mailbox are empty.
- Light fixtures, switches, handles, and vents are free of visible dust.
- Floors are clean, including corners, under appliances, and inside closets.
- Appliances are empty and wiped down, with no crumbs or spills left behind.
- Keys, remotes, parking passes, and access devices are ready to return.
If possible, attend the inspection. A walk-through gives you a chance to understand any concern immediately and, in some cases, address a small missed item on the spot. It also helps to bring your move-in photos, move-out photos, and a copy of the lease requirements.
When Professional Move-Out Cleaning Makes Sense
A DIY clean can work well when the home has been regularly maintained, the schedule allows enough time, and you have the tools to handle the job. It gets harder when you are moving across town, managing work and family, turning over a rental quickly, or dealing with grease, soap buildup, pet hair, or a large property.
Professional move-out cleaning is not a guarantee against every deposit deduction. It cannot erase damage, repair broken items, or change lease terms. What it can do is provide a thorough, room-by-room clean that covers the practical details many people run out of time to finish.
At All Fresh Cleaning Services, move-related cleaning can be customized around the condition of the home and the areas that need the most attention. Clear task lists and upfront expectations matter because a rushed clean should not leave you wondering whether the oven, bathrooms, floors, and high-touch surfaces were actually handled.
Give yourself more time than you think you need, especially for the kitchen and bathrooms. A careful final look before handing over the keys can turn a stressful last day into a clean, confident exit.